Arduino IDE-ダウンロード・インストール方法
Arduinoは、ハードウェア設計、ソフトウェア製品ともにオープンソースなマイコンボードです。
当記事では、Arduinoのファームウェア開発に使用する統合開発環境「Arduino IDE」のダウンロード・インストール方法について詳しく説明します。

Arduino IDEの動作環境
Arduino IDE(Ver1.8.9)の動作OSは以下の通りになります。
- Windows:Windows7/Windows8.1/Windows10
- Mac:Mac OS X 10.8 Mountain Lion以上
- Linux:Linux 32bits/Linux 64bits/Linux ARM 32bits/Linux ARM 64bits
Arduino IDEはWindows版以外にもMacやLinuxなどのOSに対応していますが、当サイトでは全てWindows版を利用して解説します。
Arduino IDEのダウンロード方法
Arduino IDEは公式WEBサイトからダウンロードすることが可能です。
まずは、以下のリンクからArduino公式WEBサイトに移動します。
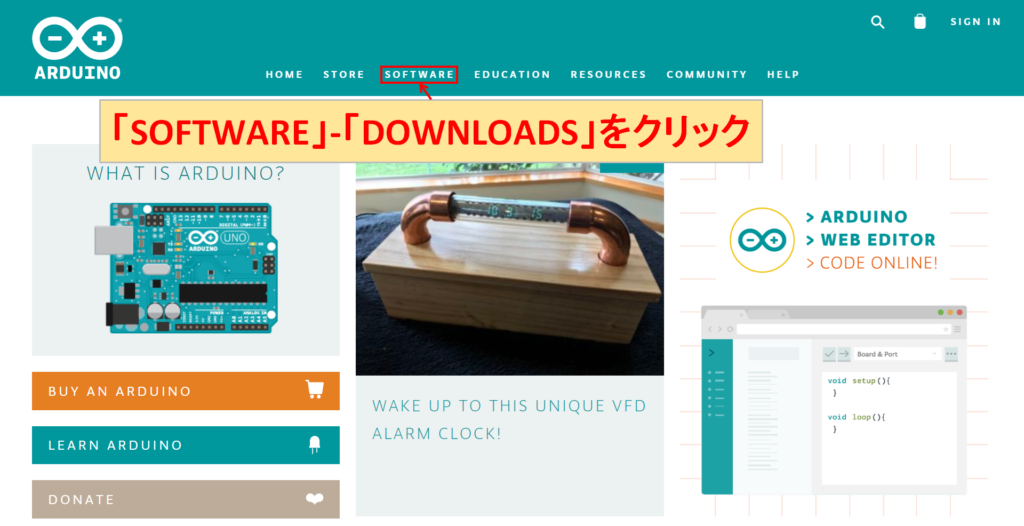
「SOFTWARE」-「DOWNLOADS」をクリックします。
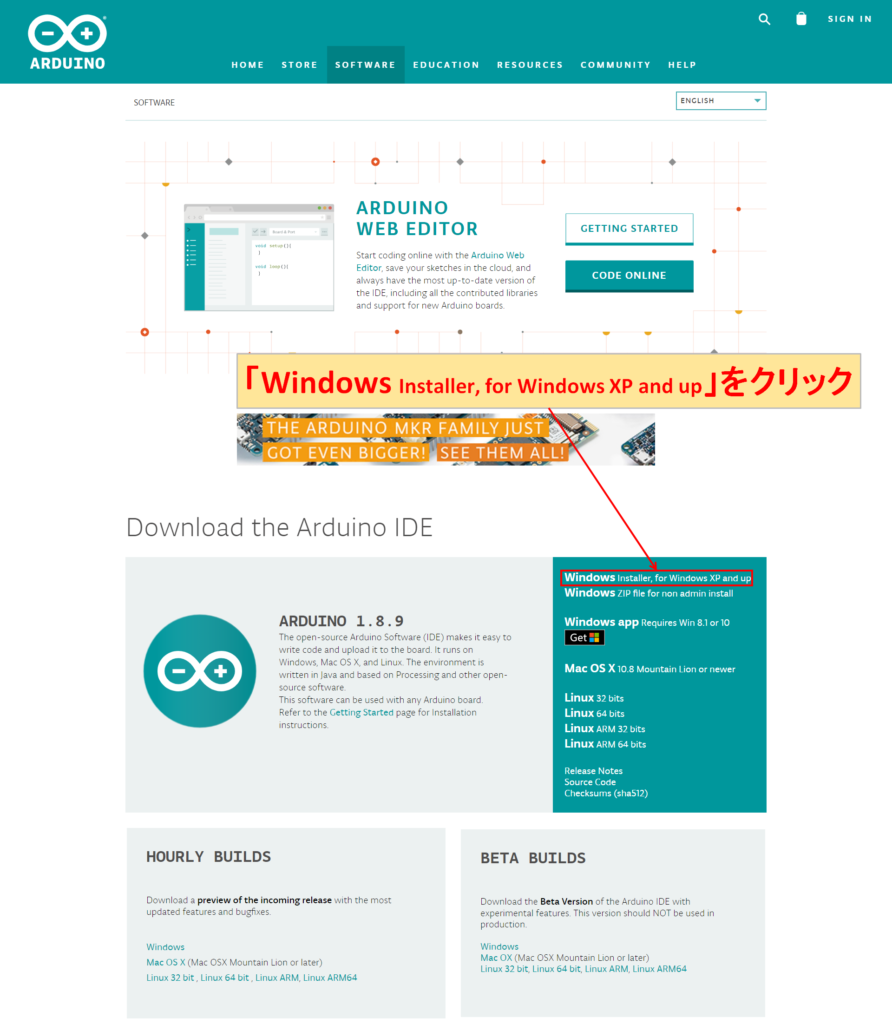
「Windows Installer, for Windows XP and up」をクリックします。
(Windows XP and upは「WindowsXP以上」という意味なので、Windows10などの新しいOSでも大丈夫です。)
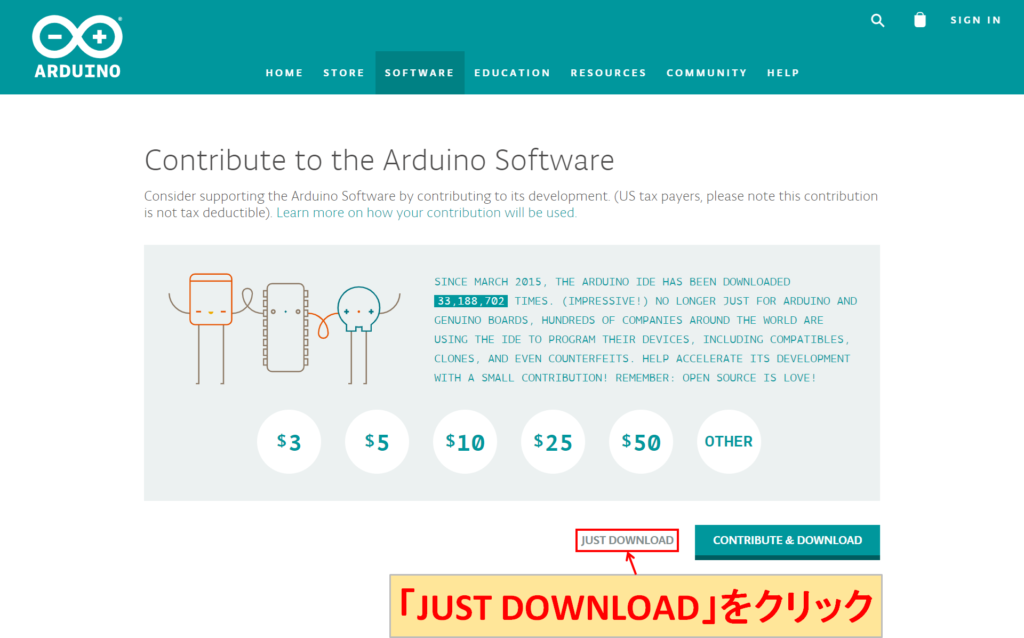
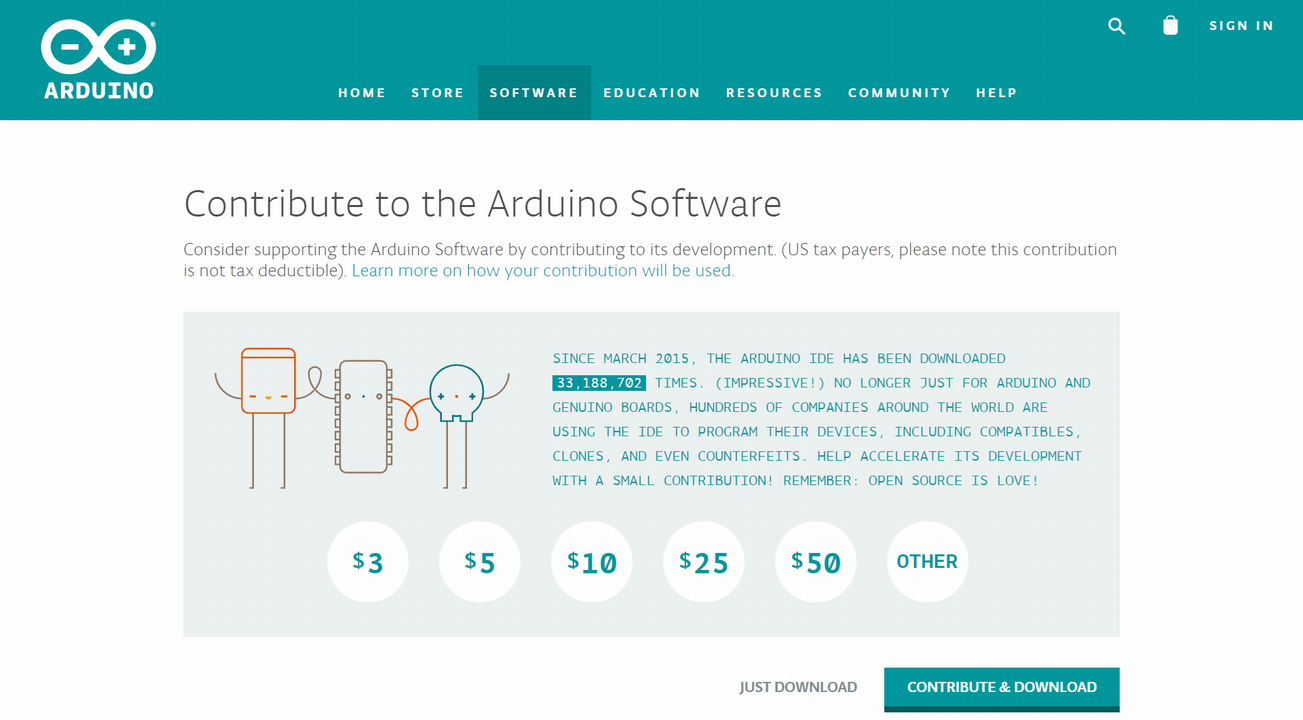
「JUST DOWNLOAD」をクリックしてダウンロードを行います。
(「CONTRIBUTE & DOWNLOAD」はダウンロードする前に、寄付を行うことができます。寄付の有り無しでArduino IDEの機能に違いはありません。)
Arduino IDEのインストール方法

ダウンロードした実行ファイル(exeファイル)をダブルクリックしてインストーラを立ち上げます。
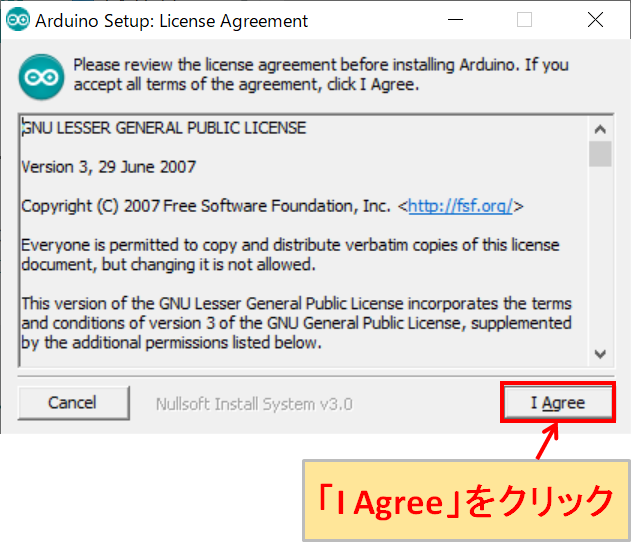
インストーラが立ち上がったら、「License Agreement(ライセンス契約)」を承諾してから「I Agree」をクリックします。

インストールするファイルを設定します。通常はデフォルトの状態で問題ないので、そのまま「Next」をクリックします。
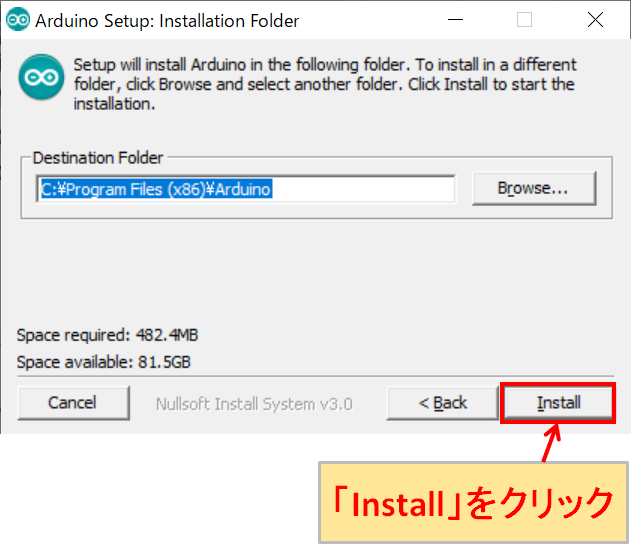
インストールする場所を設定します。問題なければ、そのまま「Install」をクリックします。

インストールが開始されるので、そのまま完了するまで待ちます。途中で必要な2つのドライバをインストールするのか聞かれるので、両方とも「インストール」をクリックします。
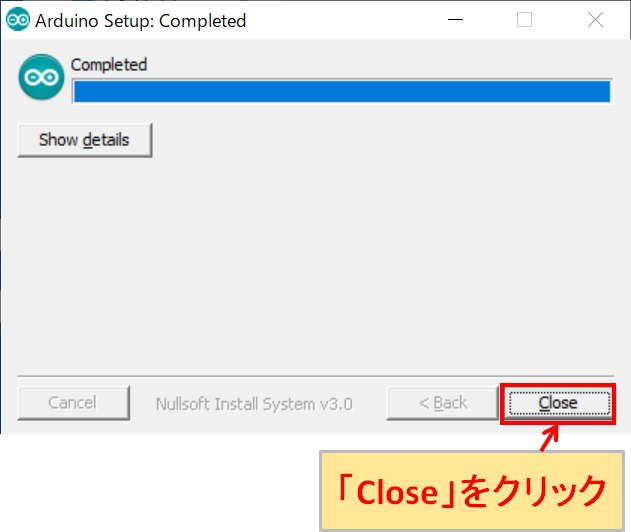
インストールが完了したら、「Close」をクリックします。
インストールが無事に完了していれば、デスクトップに「Arduino IDEのアイコン」が表れるので、確認のためにダブルクリックして「Arduino IDE」を起動させます。
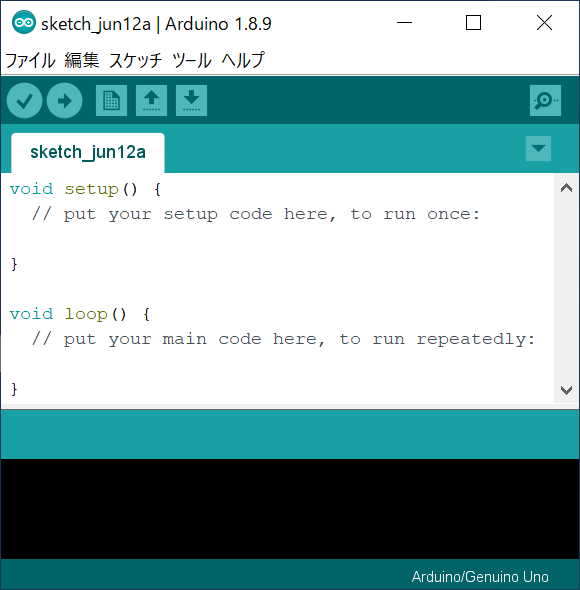
上記のように「Arduino IDE」が立ち上がります。以上でのArduino IDEのダウンロード・インストールは終了になります。
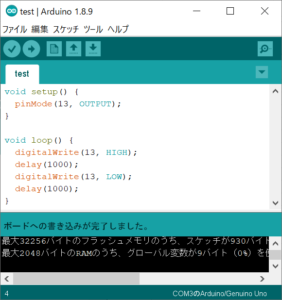
Arduino IDEのプログラム書き込み方法
Arduino IDEを使用して、プログラム(スケッチ)を書き込む具体的な方法は、以下の記事をご覧ください。
なお、プログラムの書き込みは、Arduinoボードが必要です。
以下の記事で初心者でもわかりやすいように、ランキング形式でおすすめのArduinoボードを紹介しているので、ぜひご覧ください。
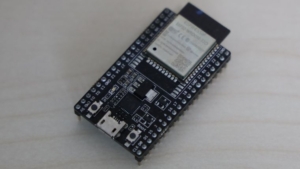
また、以下の記事で、安価でWi-Fi/Bluetoothに対応している「ESP32開発ボード」についてもまとめてみました。
このボードは、Arduinoボードではありませんが、Arduino IDEでソフト開発ができるため、電子工作でIoTを実現したい方におすすめです。